

Andy Spencer – 365 Astronomy advisor
The ZWO Seestar s50 Smart Telescope.
ZWO have been at the forefront of planetary and deep sky astrophotography cameras for many years. Their new contribution to the SMART telescope range offers an excellent all in one value for money (retailing at £539 at 365 Astronomy), light weight design (weighing 2.5g), extremely transportable and versatile deep sky imaging set up. It has a motorised alt-as mount with a sturdy tripod (with a 3/8”screw) with extendable legs and an integrated level. It can be set up to explore the night sky in a matter of a few minutes.
Seestar has a reliable built-in Blue tooth WiFi connection. It also has a low power consumption and a long battery life providing six hours of battery per charge (including an option of recharging via a cell phone power bank while in use). It operates a simple system of downloading the app (iOS or Android) on your smartphone or tablet and connecting to the Seestar network. The app has an Astronomical database of planets and deep sky objects including “tonight’s best recommendations”. It can work in video mode and photo capture. It also has a solar filter for imaging the sun.
Seestar can then be run using the app for auto GoTo, tracking and plate solving to provide clean, crisp low noise images. It is a professional grade triplet apochromatic refractor incorporating a highly sensitive sensor (IMX462). The refractor has a focal length of 250mm and an aperture of 50mm (focal ratio f/5). It has an electronic auto-focuser and dew heater. It also has a build in duo band light pollution filter reducing the amount of urban light pollution and moonlight.
Further information on Seestar s50 can be found on the 365 Astronomy website via the following link.
The contact at 365 Astronomy is Andy Spencer on 07760351733 or e mail: [email protected].
Reviewing the Seestar s50
It arrives….
Mt first impression on arrival at the front door was that it was small and lightweight. I felt excited about the possibilities for taking it away while travelling in my ruck sack, on holidays and far and wide. Somewhere with less clouds perhaps…..
Upon opening the box the telescope and tripod were in separate compartments. The telescope and tripod once constructed was so light I carried it out to the garden with the Seestar in one hand and a cup of tea in the other. That’s a first for a 54 year old who started astronomy when he was 13 years old.
There are no detailed instructions with the telescope. For a man who needs instructions this was a little worrying. However, there are many U tube videos on the Seestar and they gave me all the instructions I needed….and more!
The first thing is to download the seestar app on your smart phone or tablet. Everything is done through the app which is easy to download and simple to use. Secondly you need to charge up the Seestar. It comes with a lead that plugs into the Seestar and has a USB attachment. I use a portable battery charge to charge up and maintain charge while in use.
Then turn on the Seestar and you will hear a voice say “Ready to connect”. Click on the connect button and it takes you through a very simple process to connect to the Seestar Wi-Fi. The Seestar is now ready to use.
First light
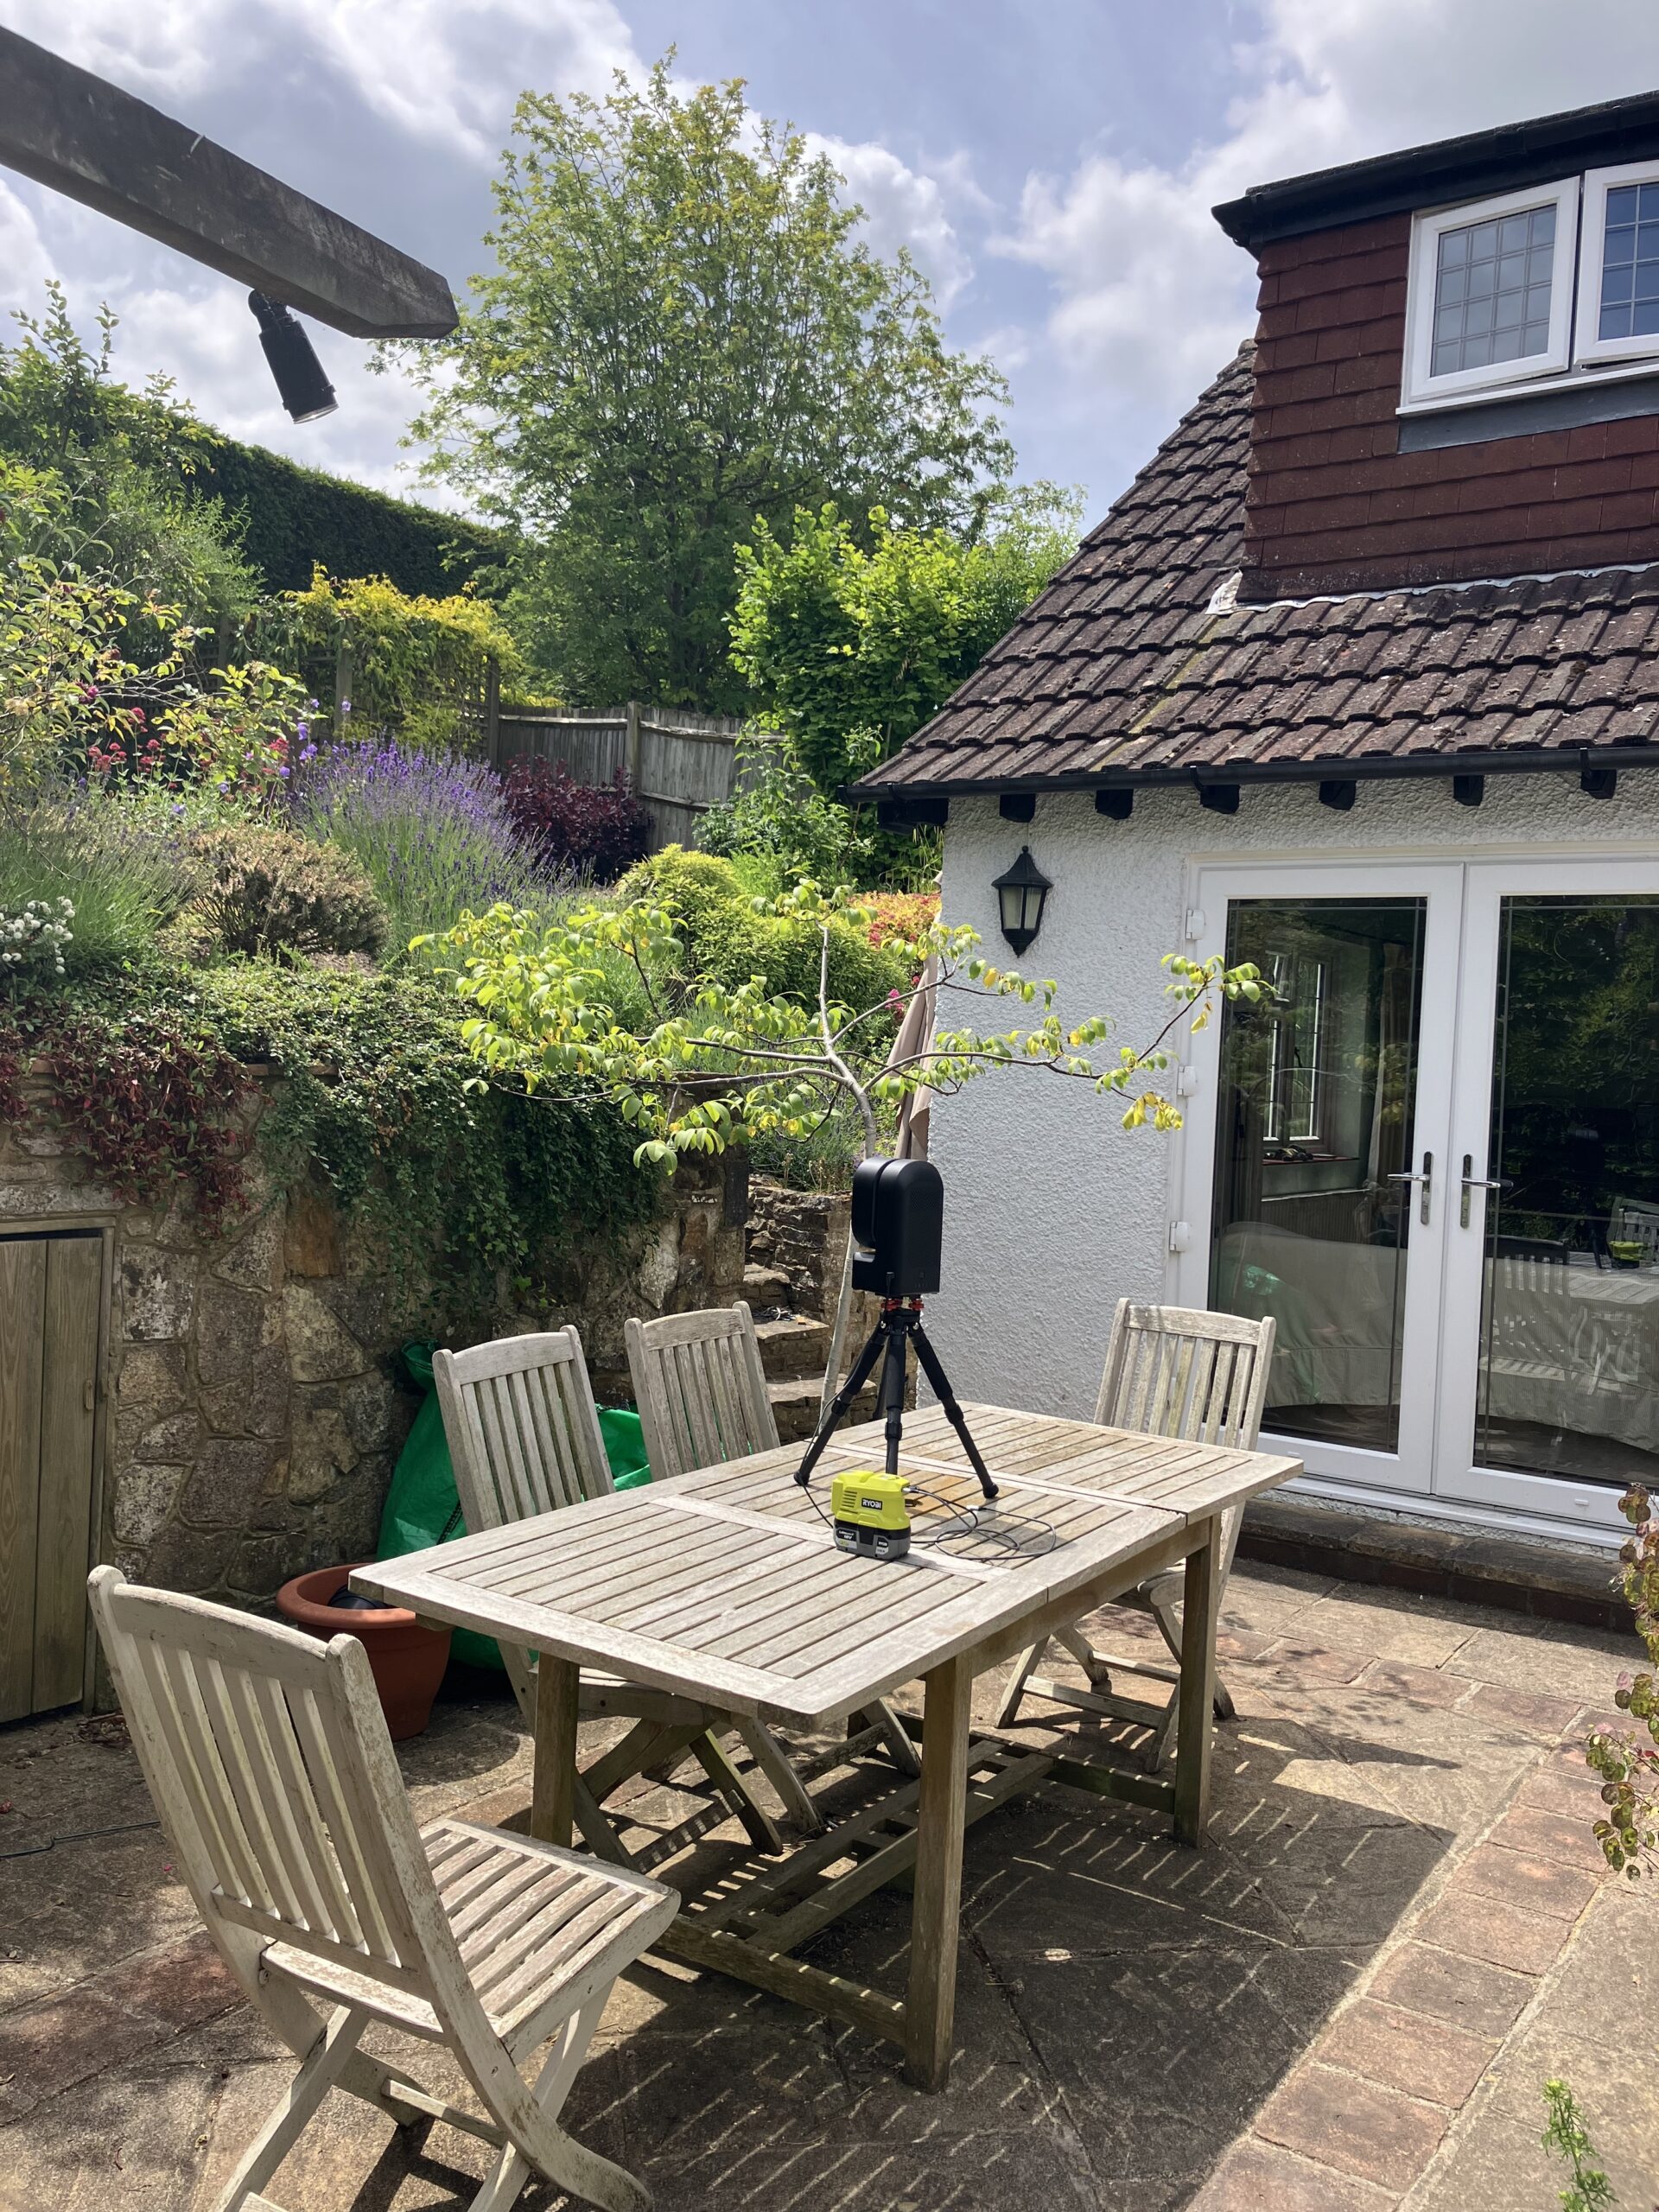
On the first clear night I had I headed out. Seestar is on an Alt-Az mount so needs to be level to get an accurate star alignment. My sloping garden proved a challenge. The table in the corner of the garden was more promising but it was surrounded by trees so not an option either. I ended up on the table on the terrace immediately outside the back door backing right onto the house. I have a relatively small patch of sky straight up. I remember thinking this will never work but I decided to give it a go anyway. I’ve posted some photos of this area.
Levelling
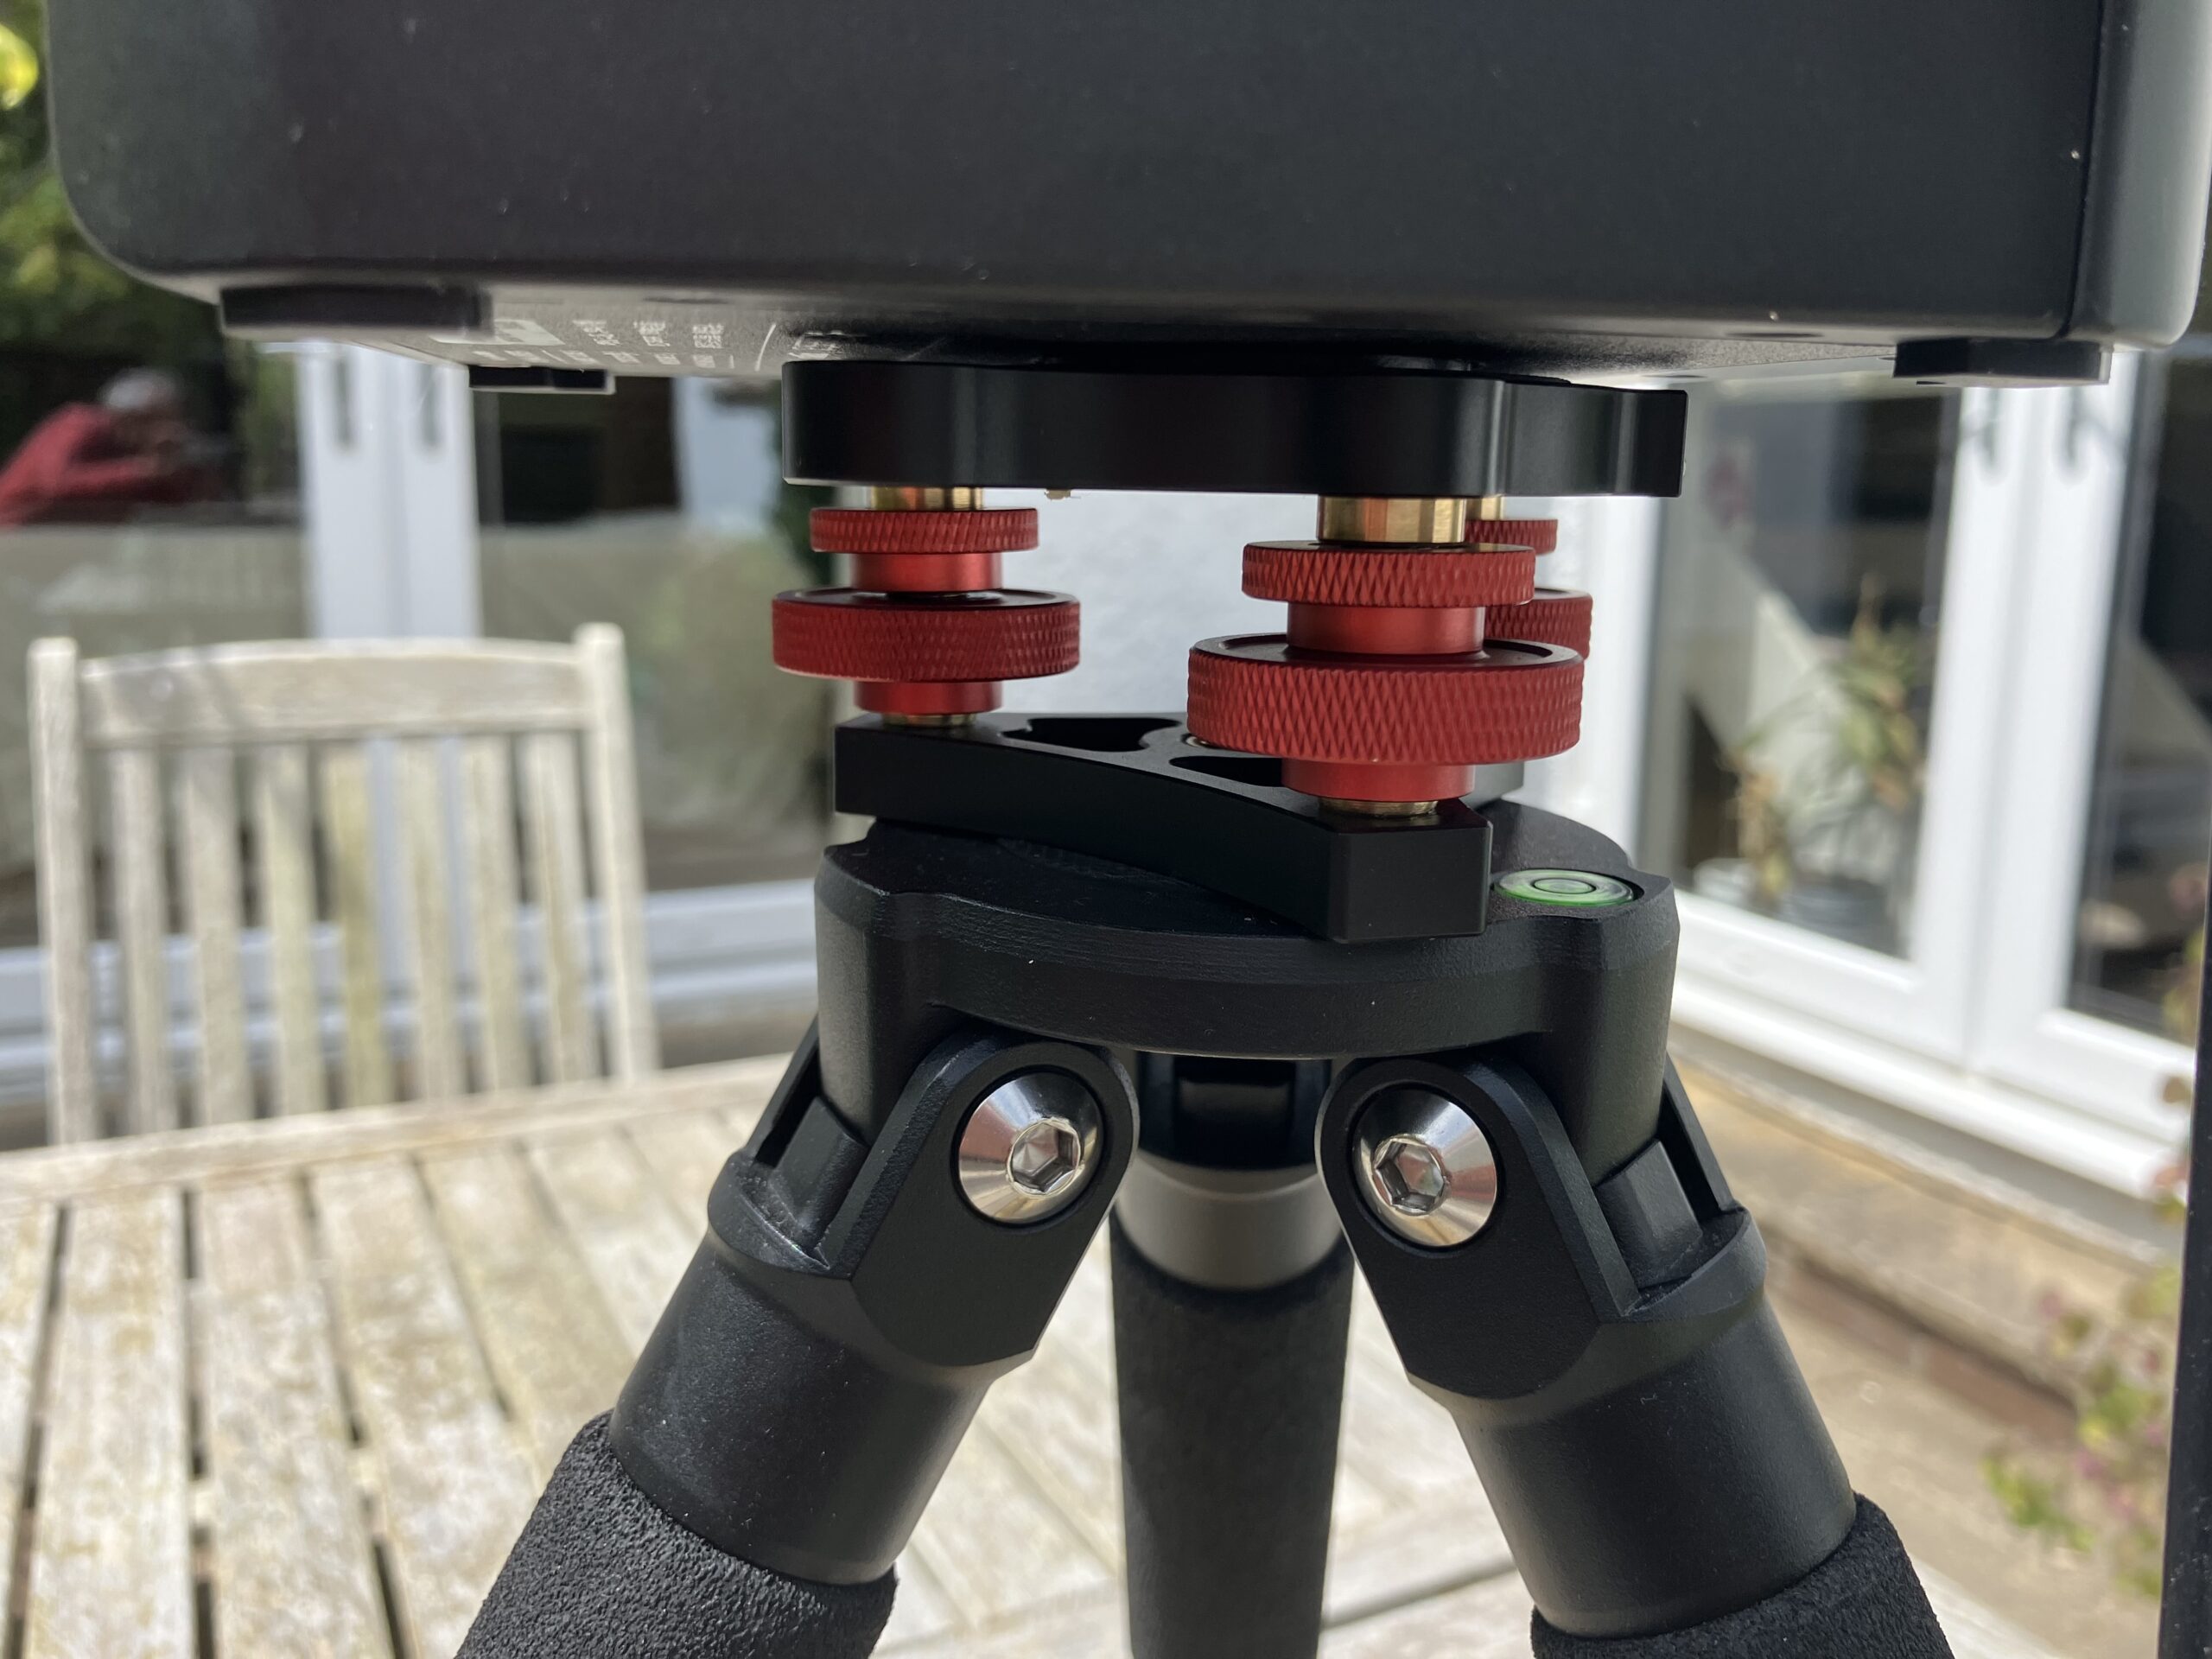
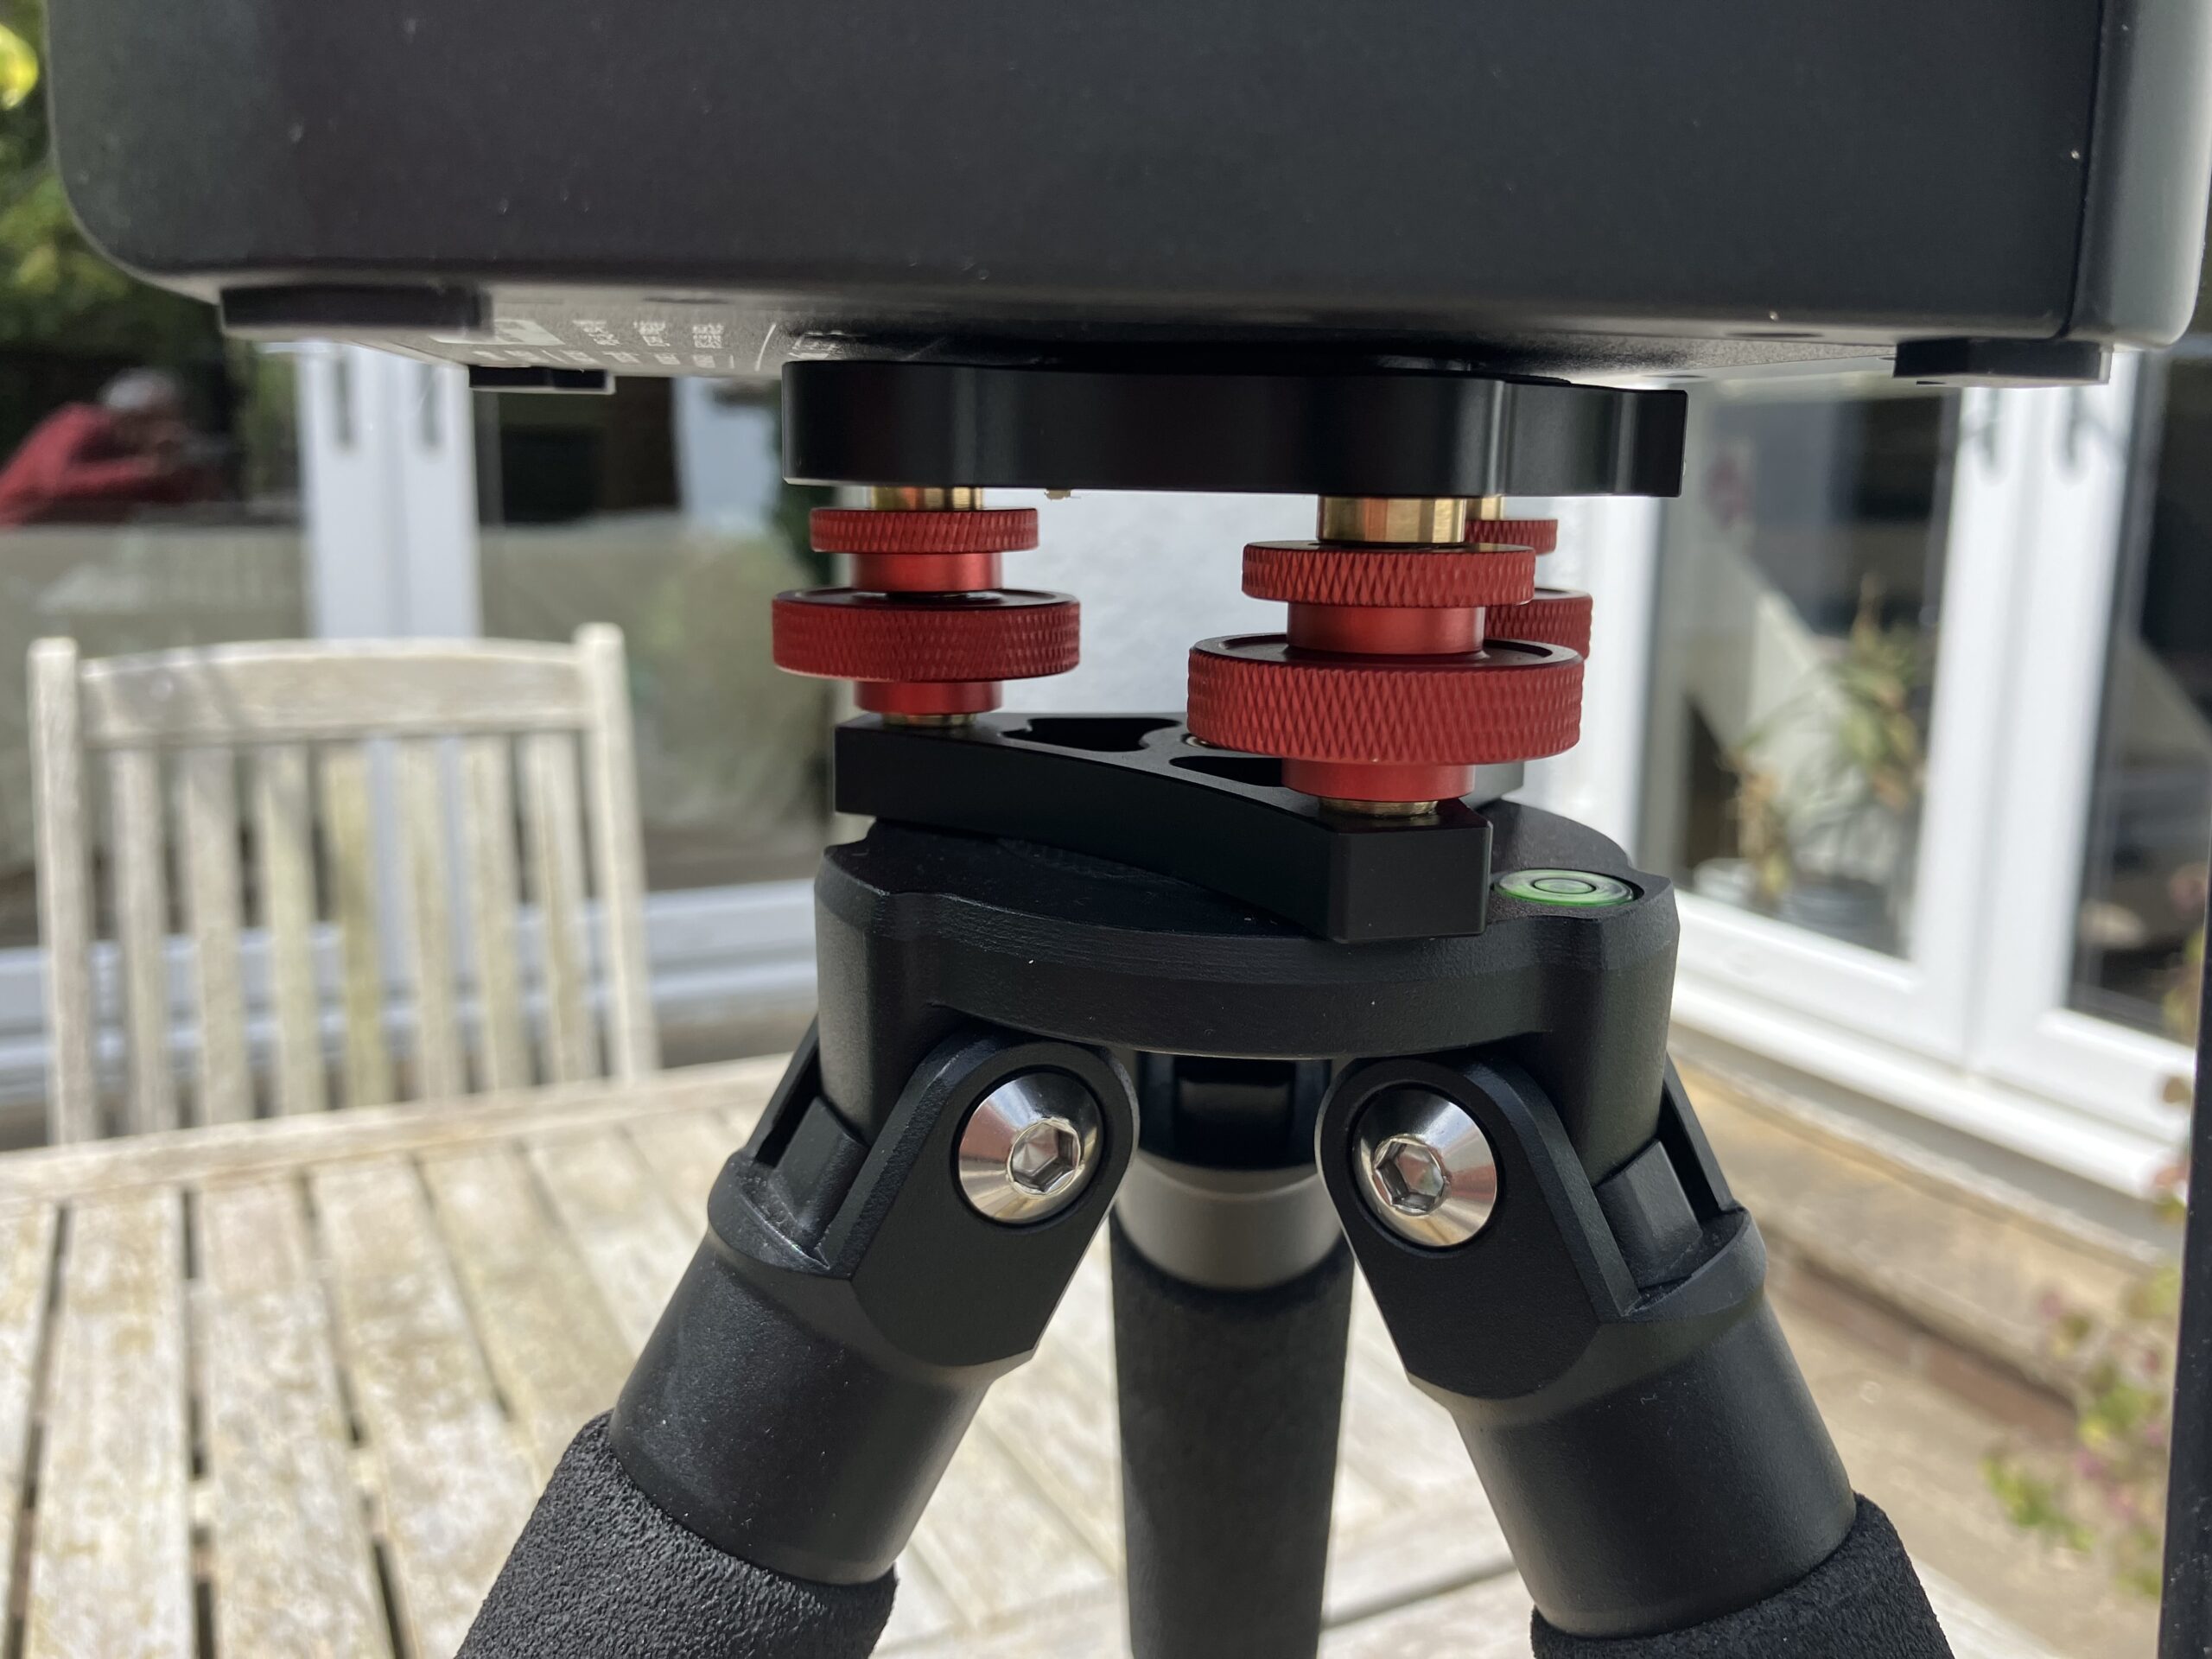
So onto levelling. Through my web browsing I came across a Seestar accessory that I would really recommend. Like all Alt-Az mounts it can be levelled by adjusting the height of the tripod legs. However, 365 Astronomy provide an accessory that fits between the telescope and the tripod. I have posted a photo of this. All you need to do is turn the red screws to adjust the level. Its easy. There is a bubble level that helps but the Seestar makes levelling even easier. All you need to do on the app is connect the Seestar to your phone or table my clicking “Me” on the bottom right hand corner, advanced features and level Seestar. You will be presented with 2 overlapping circles. Just twist the red knob until they are on top of each other. A number will be shown. In my experience as long as it is less than 1.0 its good to go. I try to put the Seestar at the same place on the table each time I use it. Often I don’t need to adjust the level at all.
Now you are ready to go…..
There are 3 options to choose from on the seestar app. Stargazing, lunar/solar and landscape for terrestrial photography. I use the Seestar for the first 2 only. Both stargazing and lunar/solar have a database of objects.
Stargazing
The simplest way to us this function is to access the “tonight’s best” area. Several DSOs (Deep Sky Objects) are listed. Click on one that is straight overhead and a screen comes up with a “Gazing” button and some information about the object. Click on “Gazing” and the Seestar will slew (move) to the object. You will hear a voice say “centring object”. Then click on the [AF] button and the Seestar will autofocus. Wait until you hear the “autofocus complete” voice (you can also purchase a seestar bhatinov mask for more accurate focusing). The Seestar will automatically turn on a duo band light pollution filter reducing the amount of urban light pollution and moonlight and also adapts for imaging nebulae (you can also purchase an additional Seestar filter for better images of nebulae).
Then press the red circular button at the bottom of the screen and the Seestar goes through a final calibration procedure, shoots a single photo of the object and starts enhancing this image. You will see the 10 second times on the red button as the Seestar takes an image. You should then be able to see a faint image of your chosen object. See star will then stack these images as it takes them. Run the Seestar for 30-60 minutes and press the red button to stop the process. The final image will be saved to the Seestar and can then be further processed using software such as Siril, Lightroom, Pixinsight etc….
The other option is to access the Sky Atlas at the bottom of the screen. This allows you to have more control over specific area of sky you wish to image. It can be helpful to get 2 or 3 celestial objects in the same image. Simply enter the object into the search bar and Seestar will slew to that object. Use your finger to move the blue rectangle over the area of sky you wish to image. The press the Gazing button and continue as above.
Lunar/Solar
The process is similar to Stargazing. The difference is that you can take a video of the sun and moon as well as single shots. Seestar also offers 3 different magnifications.
Please not that for Solar. YOU MUST ATTACH THE SUPPLED SOLAR FILTER BEFORE SLEWING TO THE SUN. Otherwise the Seestar will be ruined and unrepairable.
Room for improvement
A limitation of the Seestar is the focal length is fixed at 250mm. There is no option to use barlow lenses or focal reducers as there are with other telescopes. Hopefully later development of the Seestar by ZWO will incorporate these parameters.
ZWO are in the process of developing a “mosaic” feature for the Seestar that will increase the field of view of the Seestar.
The Seestar is not suitable for imaging planets. It is possible but the image will be extremely small and no surface detail will be resolved. Increasing the focal length may facilitate this but it is unlikely the Seestar will compete with other telescopes such as Schmidt Cassegrain telescopes.
So Seestar will give you the same image of a DSO every time. Although the quality of the image may vary due to location and astro-seeing conditions. There are a number of apps that will tell you when conditions are ideal.
Final conclusions
The Seestar s50 is a high quality and extremely affordable and value for money deep sky astronomical SMART telescope. Due to its ease of use and excellent quality images It can appeal to non-astronomers and enthusiasts alike.
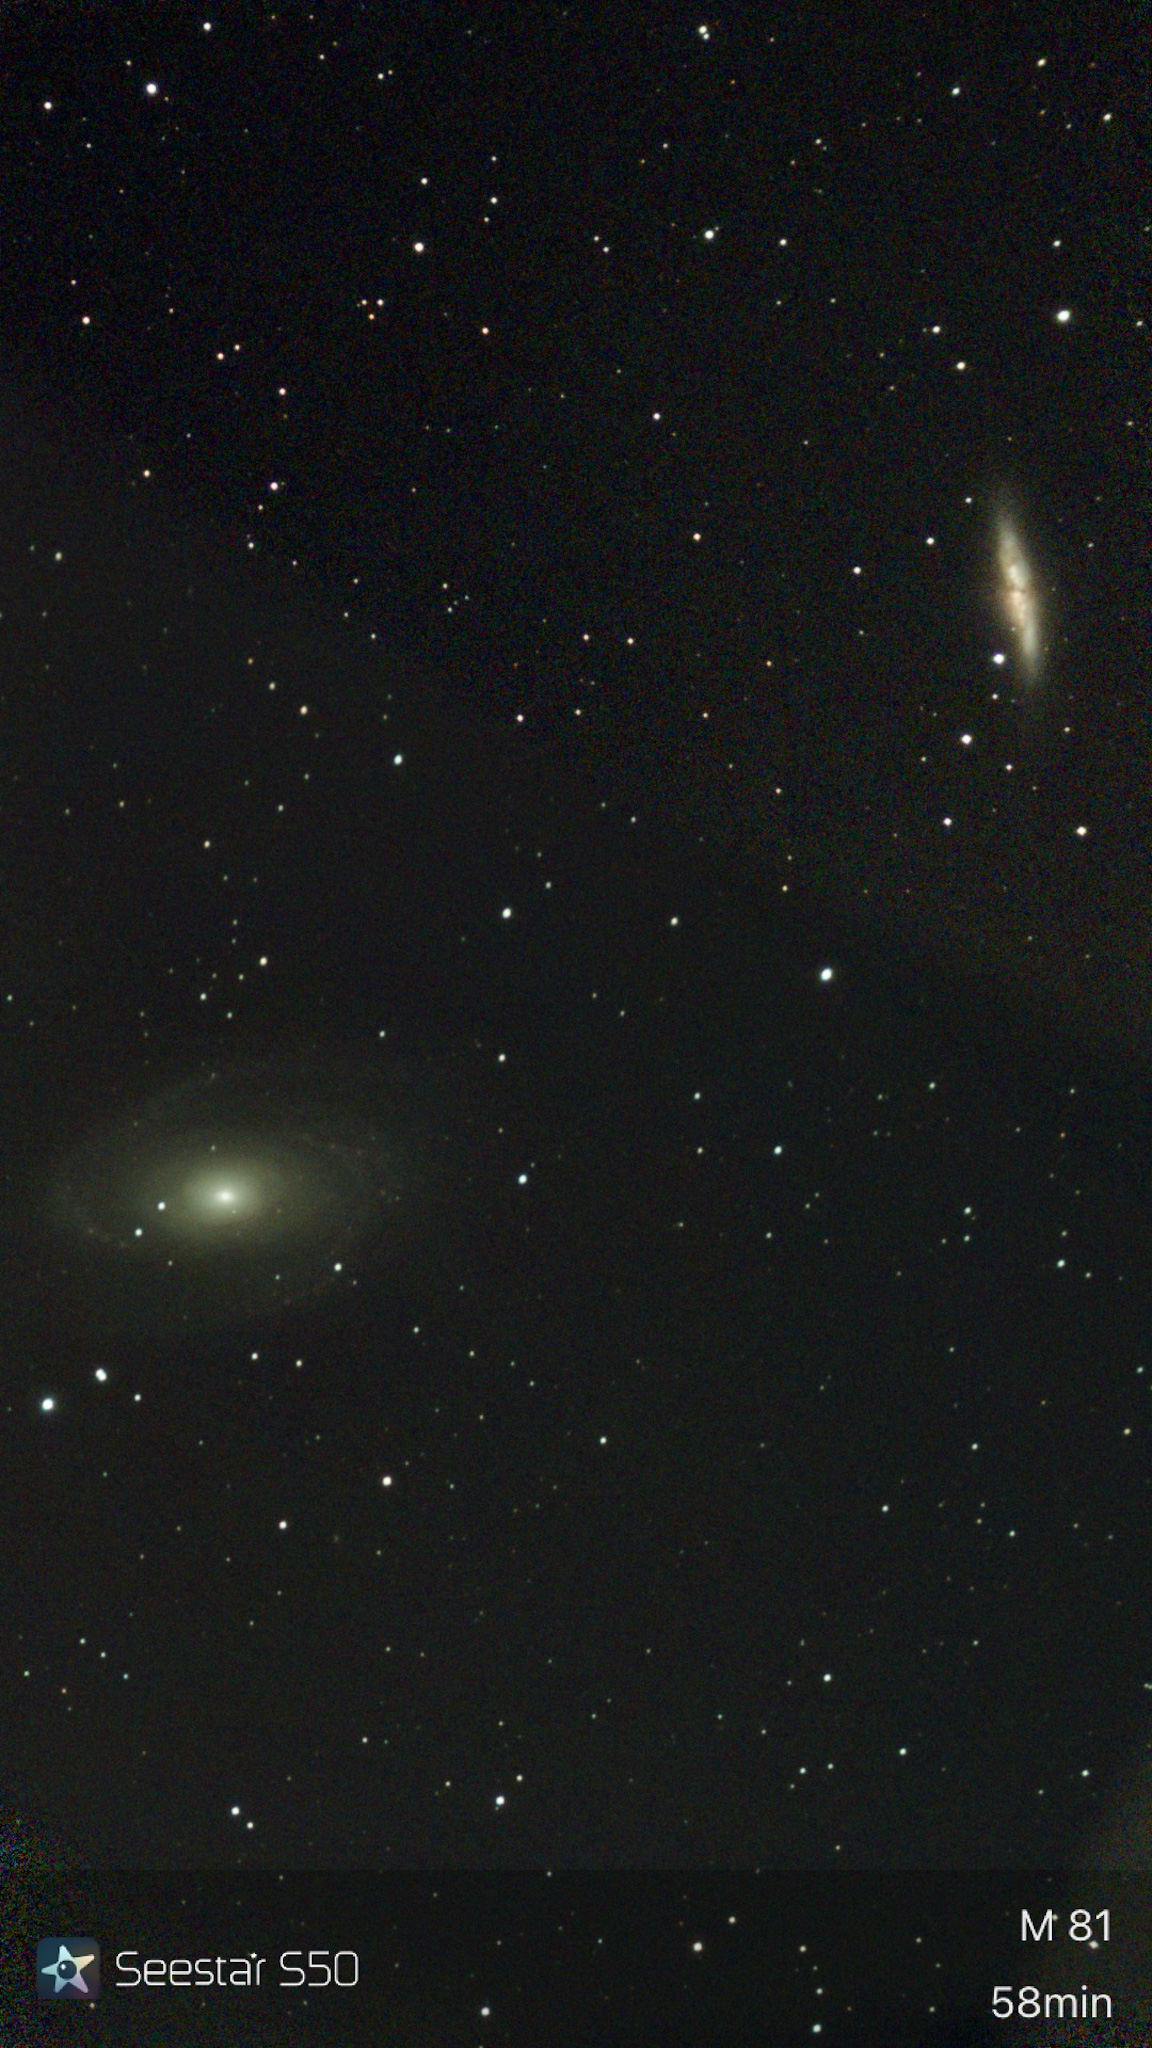
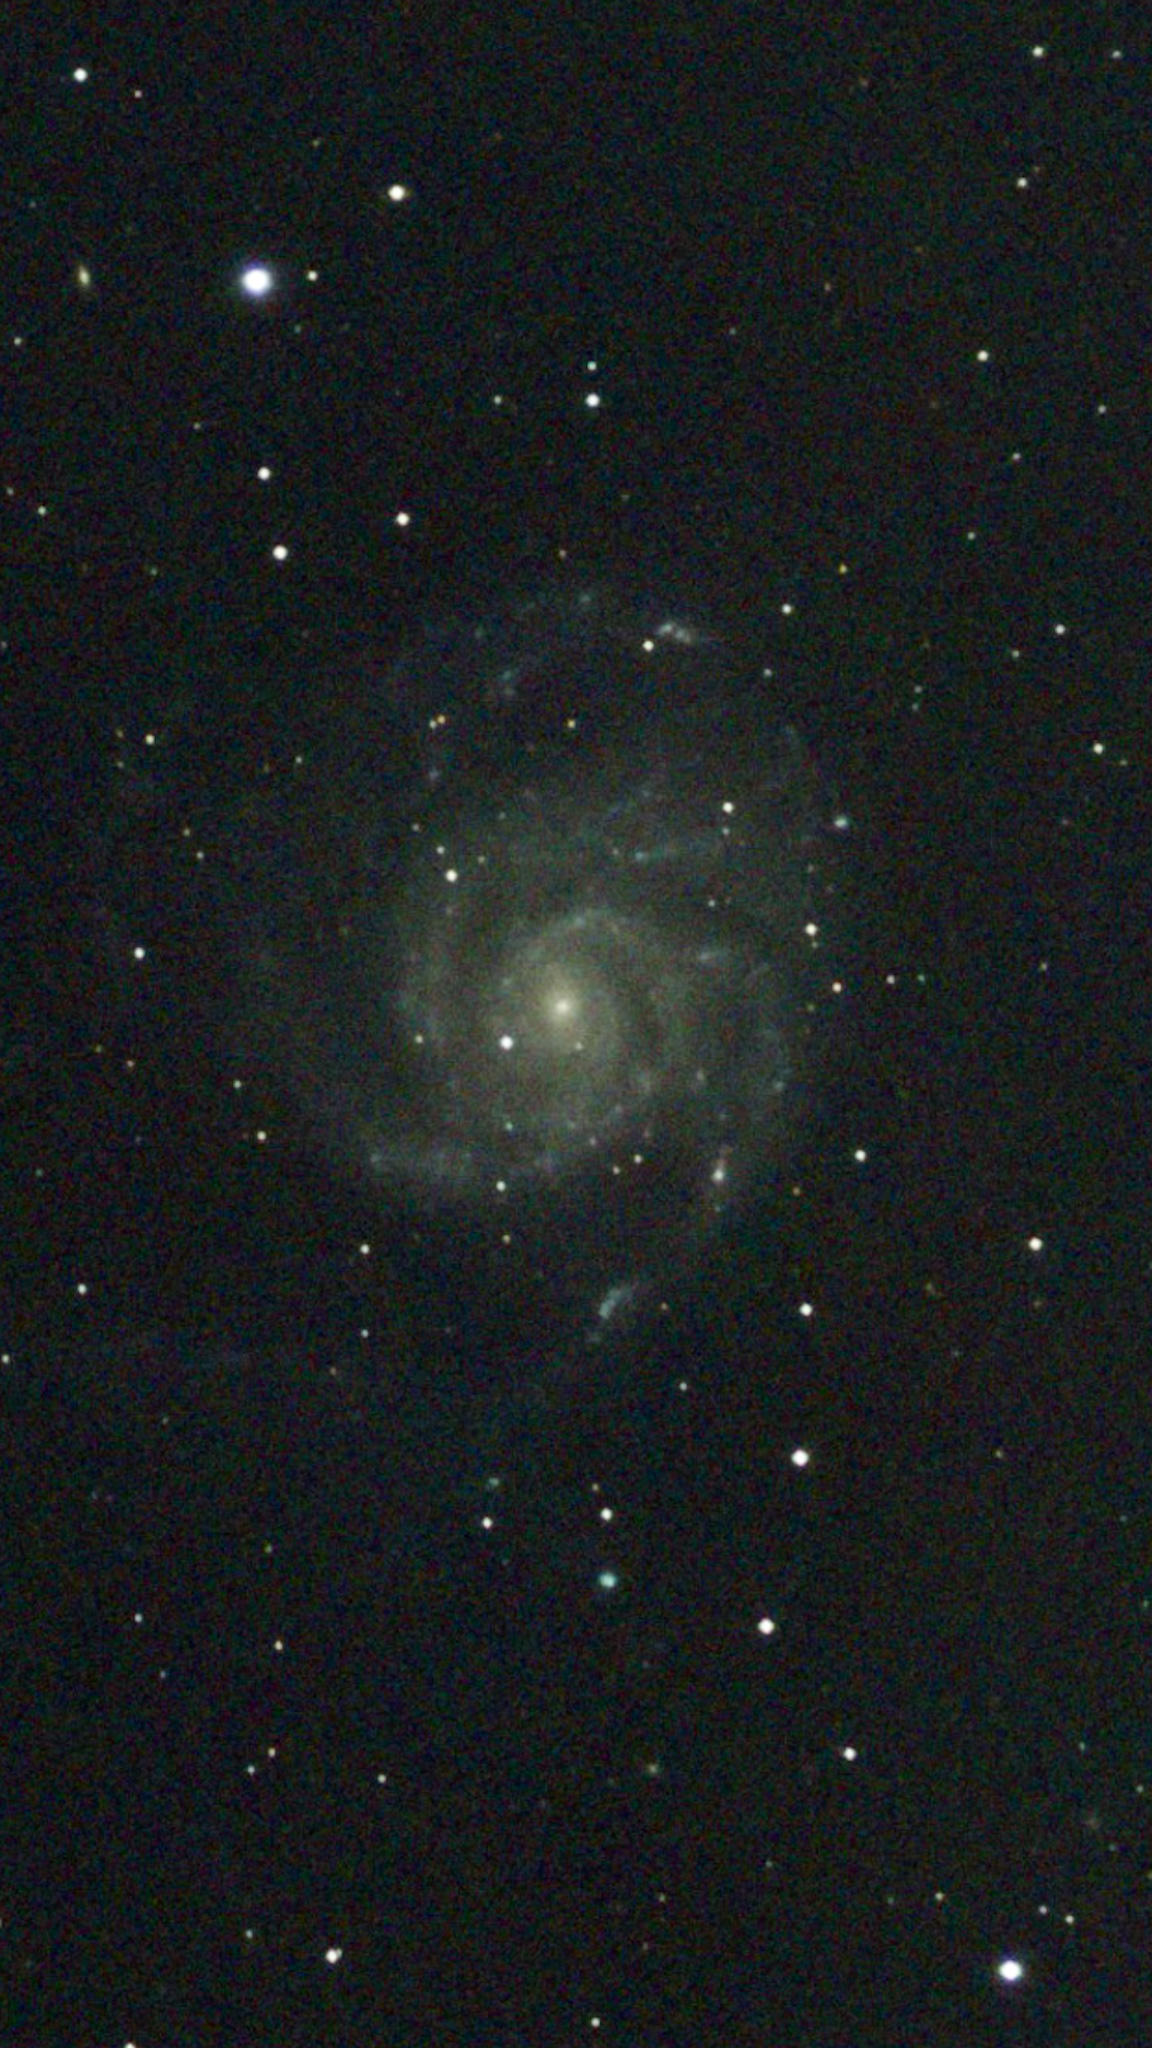
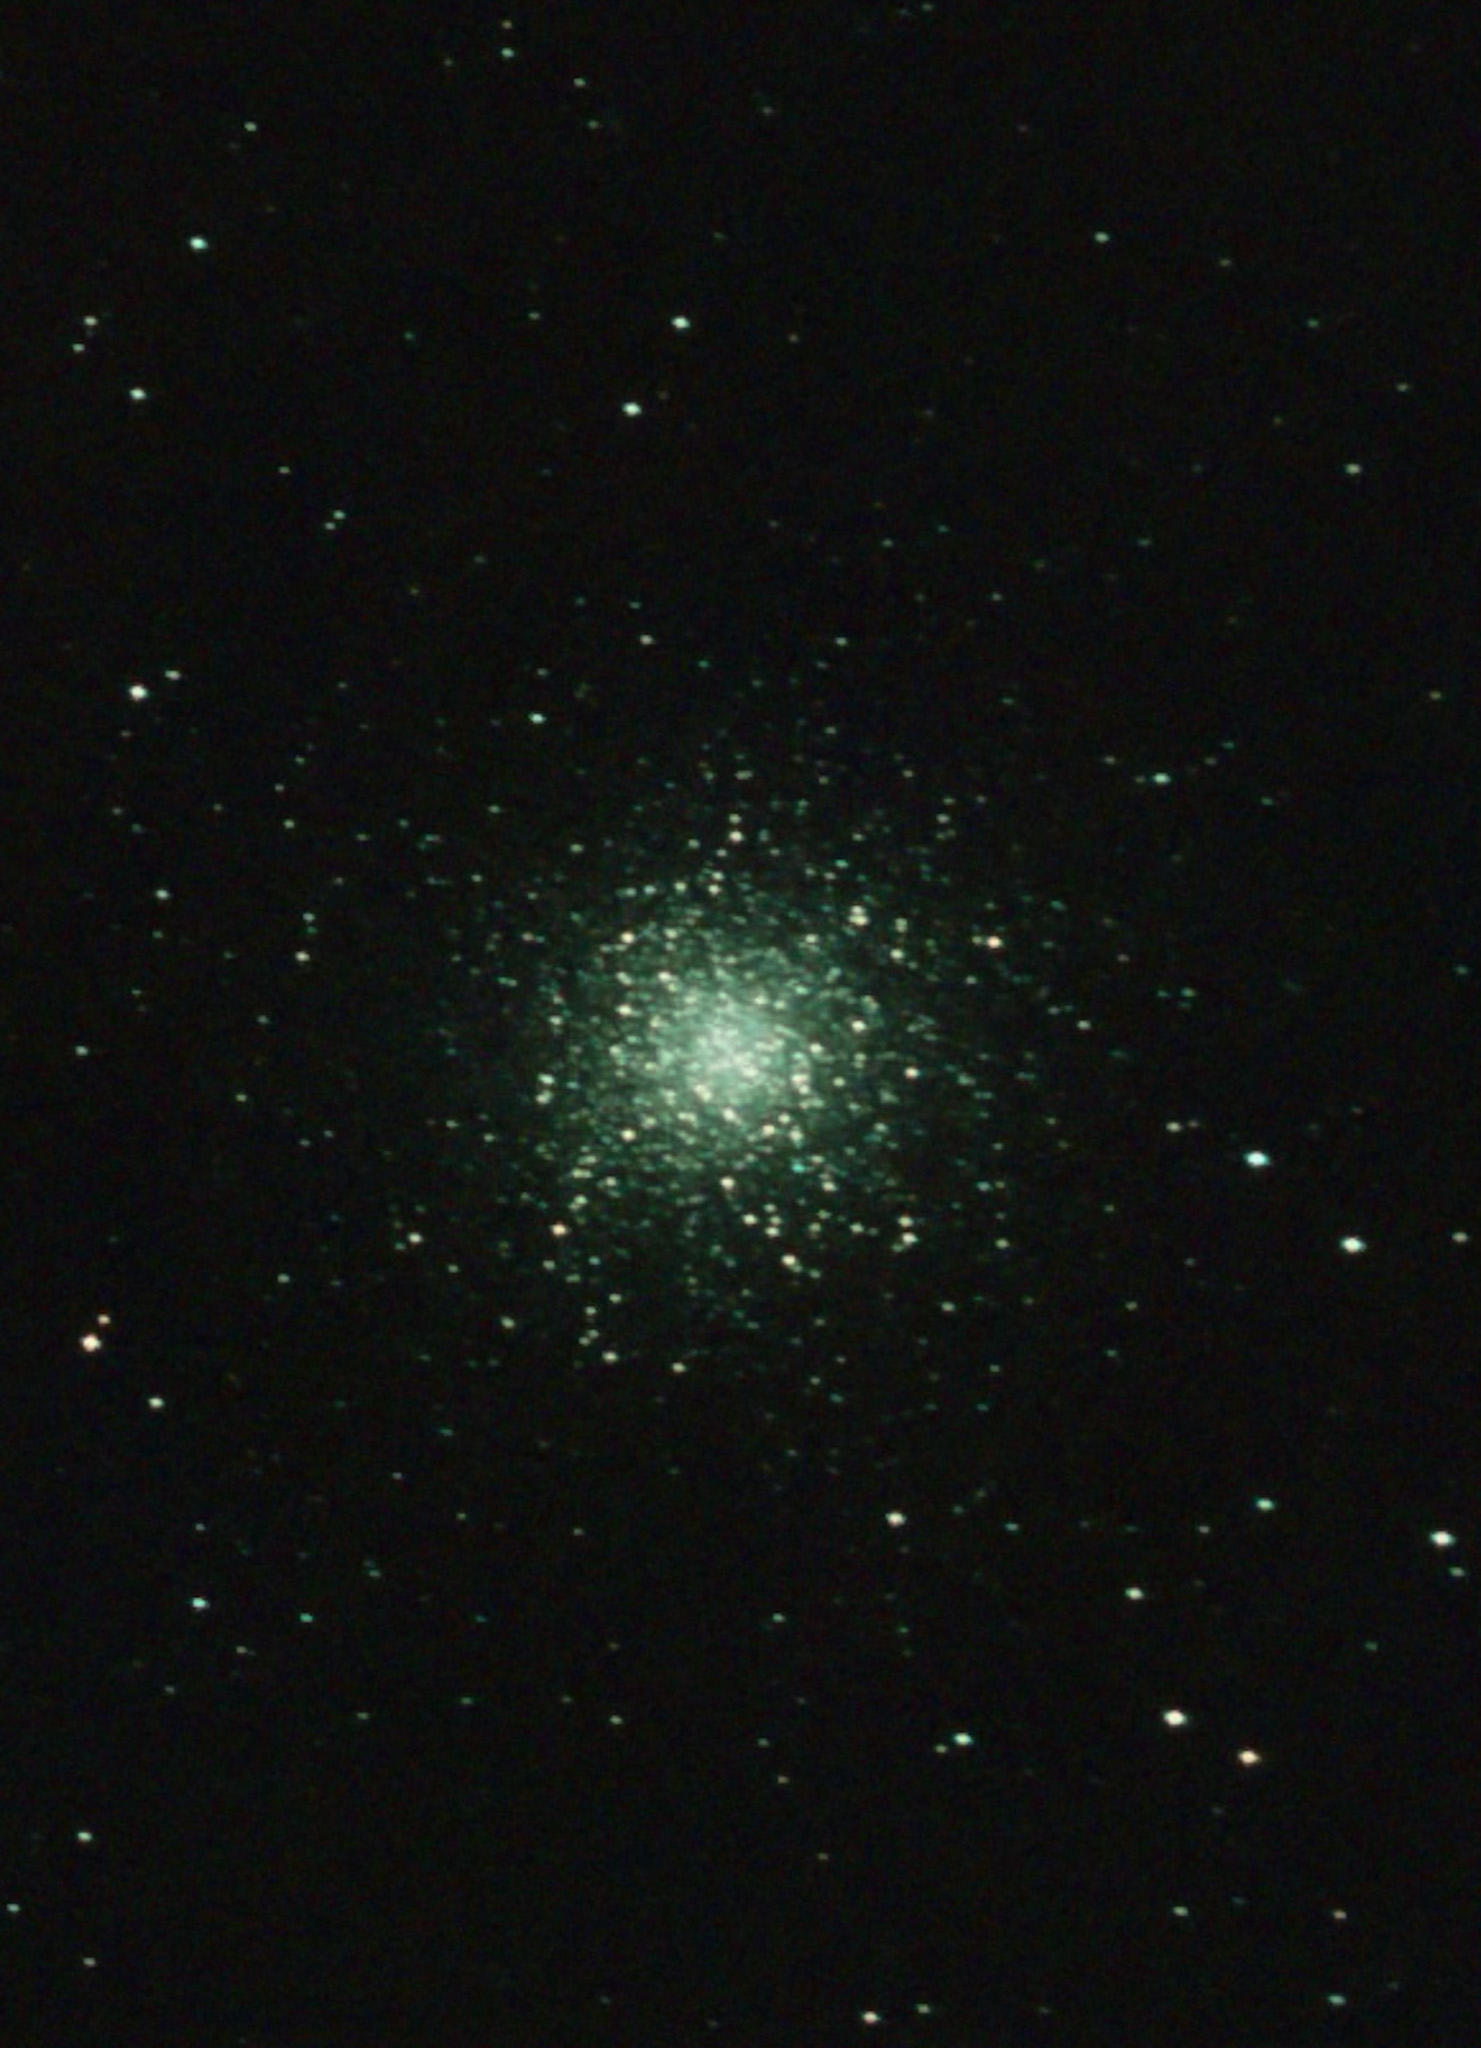
Please see the attached images below. The Seestar images were seep sky stacked on Seestar and processed in lightroom mobile.



Like this post? Spread the word!
Posted on July 16th, 2024.